Tuesday, March 29, 2011

Sloshing Glaze


Sometimes, it's good to slosh glaze.

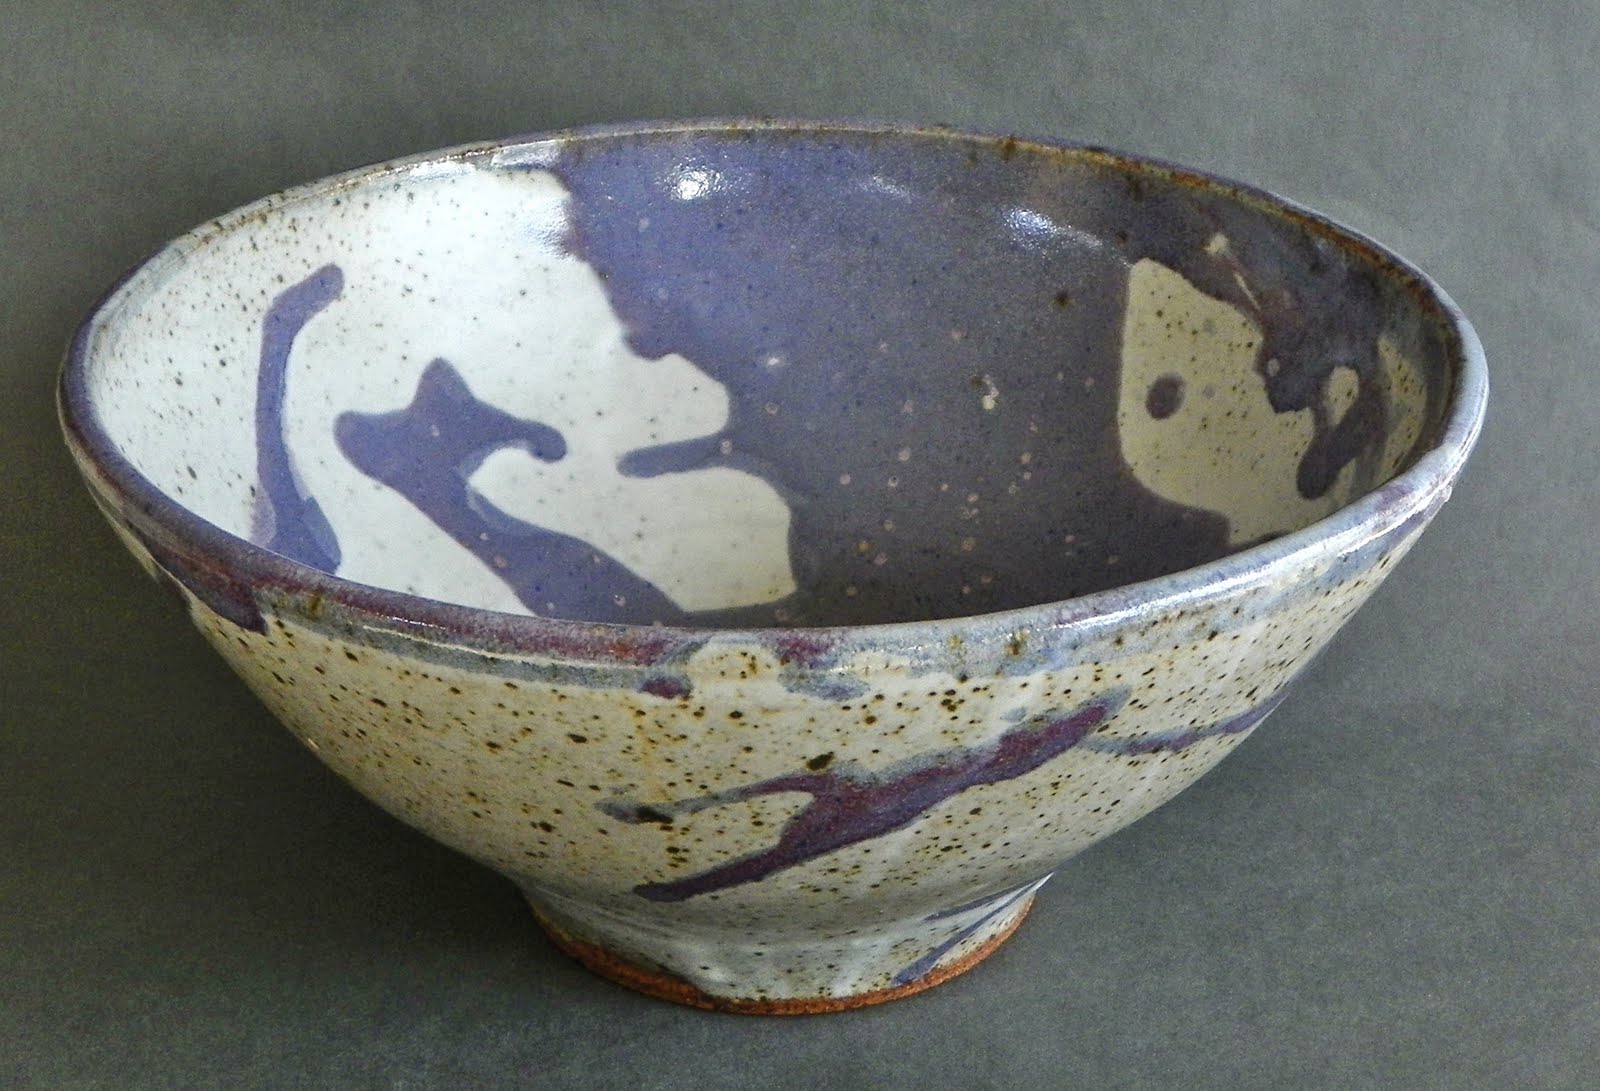
Here's a stoneware bowl, reduction fired, that I made during a class.

I was in the class because at the time I didn't have my home studio set up then.

Thankfully, the instructor excused me from most of the participation and just let me work.

Using glazes I was totally unfamiliar with and had no clue how they would turn out, I decided to do the "Ink Blot" approach and put a base glaze on, then slosh a contrasting one over the top, rotating the bowl to make it run in interesting patterns.

I think the purple glaze was called "Fish Guts" or something.

Not for the faint of heart.

Saturday, March 26, 2011

Big X


This is a test of two contrasting glazes.

The base is a Chico Glaze's Copper Blue. The big X is Eggplant.

The plate is fairly large; about 16 inches in diameter.

I love doing this kind of glazing--you just take a big breath, and DO it. No going back.

Monday, March 21, 2011

Free and Loose - Sauce Bottle Up Close

Bottles like this have a long history.

Ancient Chinese and Middle Eastern ones with an oval body and two spouts have been found in archaeological digs and are displayed in museums all over the world.

Many were designed to hang from a saddle (or maybe from a wall inside a dwelling).


Sometimes it's nice to just make something that is purely spontaneous.

This little sauce bottle was done after I had made some very precise, controlled ones.

It may seem a strange way to work, but I start these bottles from the bottom up--Using a slab and a needle tool I cut out oval base. No pattern, just making it by eye.

The shape will change slightly with construction anyway, so there isn't a need to be precise.
The body was cut out the same way after I merrily stamped the heck out of it.

I rolled the body clay into my hands, shaped it around the base, then sealed the seam with a rolled a clay worm. Then I whacked the bottom/side seam with a paddle to merge them and make sure it won't leak.

The upper part was brought up and the two sides were left open so I could attach the spouts. If needed, I cut a rough opening for their positioning. The spouts were hand formed, the seams joined and smoothed by hand, but no effort was made to conceal the seams. The spouts are and secured and smoothed into the body of the form on the inside.

I overlapped the front seam making it's rough shape obvious. The top was joined, trimmed and a fat tapered-ended roll of clay makes the finishing seal at the top.

Even though the sauce bottle looks freely formed, all the lips of the spouts, inside seams and closures are well-smoothed. I don't want any food to remain on the inside since these are cleaned by rinsing them out with very hot water.

Height: 6 inches

Friday, March 18, 2011

Shelter Boxes


You can help.

This world wide organization supplies boxes custom-loaded for whatever kind of emergency help is needed.

And the people of Japan need all the help they can get.

http://shelterboxusa.org/index.php

Wednesday, March 9, 2011

True Beauty

Went to a flea market a couple of days ago and came home with this.

It's on the column over the fireplace.

Iconic.


Saturday, March 5, 2011

Ahem


Sorry for the non-posting.

I'm off chasing ancestors.

I've discovered a colonial seagoing-merchantman and am busy tracing his unfortunately short voyage through life.

If you've ever done any of this kind of research, it can be intense and all-consuming. Every clue and trail must be searched out and well noted and, of course, each door opened reveals yet another one.

So the sails will be hanging in the sail loft for a little while. Bear with me......

Monday, February 28, 2011

Buddies


A bit of my own amusement.......two little hand-held pitchers on a tile base.


I don't know what they're for.

Maybe two kinds of salad dressing.

Maybe cream and sugar. Sure, you can pour sugar. We do it at resturants without batting an eye.

Maybe two kinds of gravy.

Or sauce. Chocolate or carmel? Maybe both.


The tile base is free form and has a little curled lip---just for fun.


Tuesday, February 22, 2011

Some Experiments with Tile


I'm trying some underglaze and stamped designs on a few tiles made of porcelain. I have no idea if the black will even register, but thought it would be interesting to see what would happen using a stamped figure and a light underglaze over the design.

This last one is just drawing on a blank tile.

I plan to use a transparent glaze over all of them.

Note: Please ignore the light shadows that are in the photos--the tiles are really quite blank-looking.

I also have some small test tiles with underglaze stripes down one side and various glazes over that. Those may not work at all, but who knows?

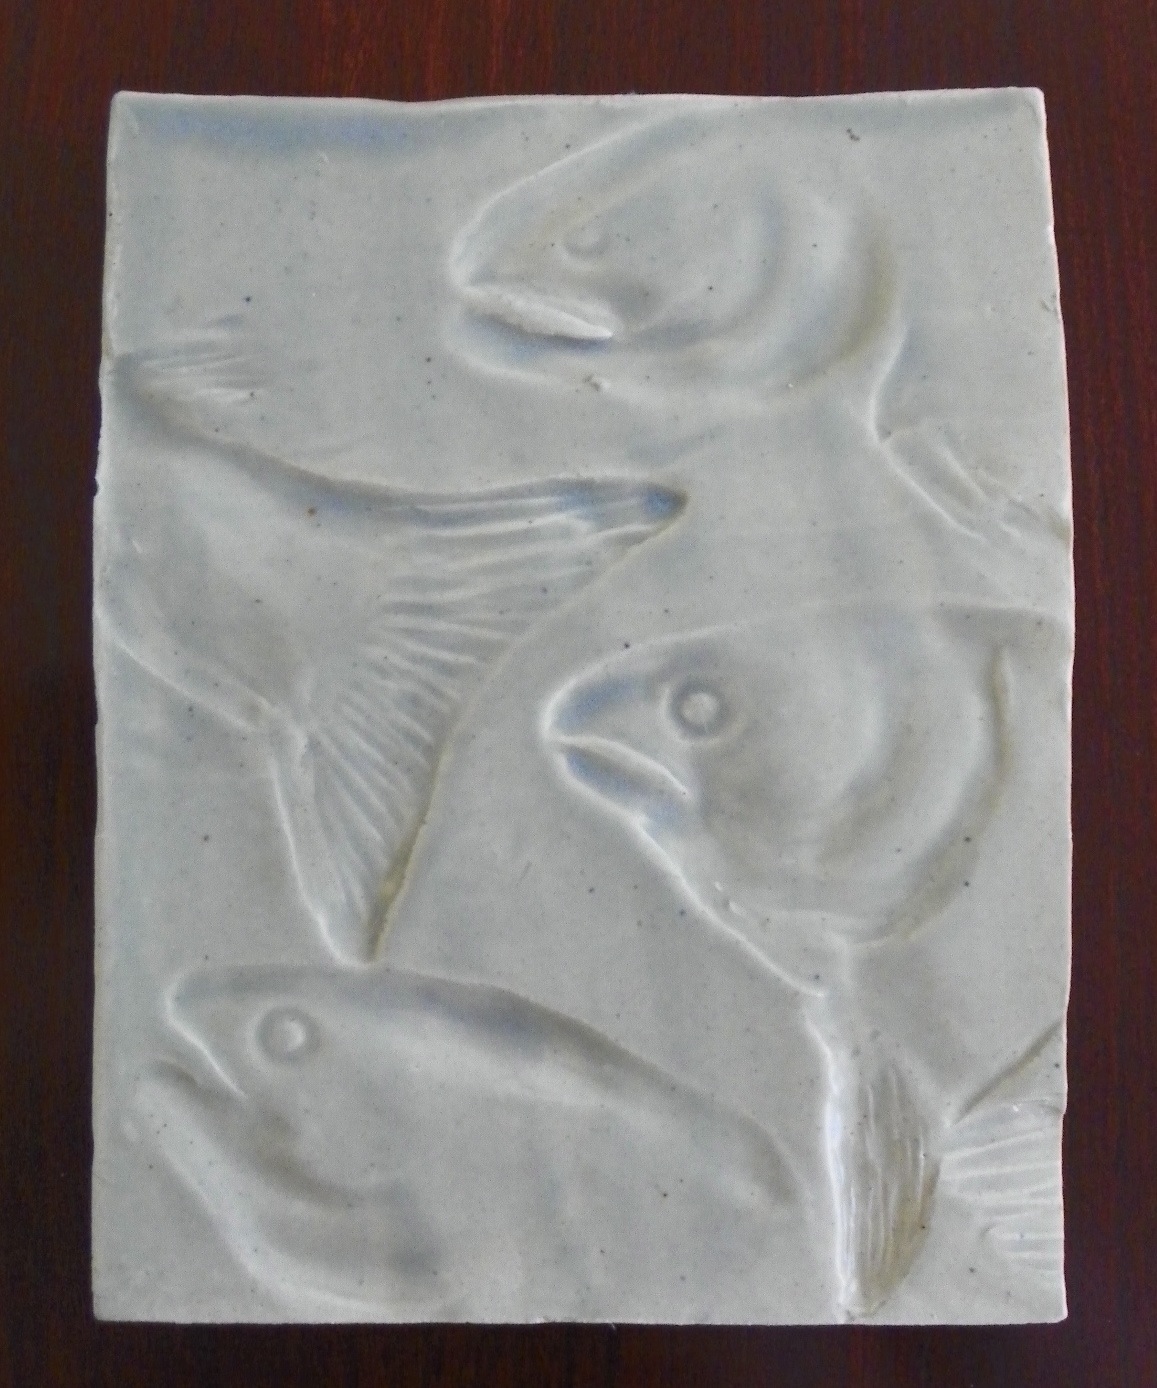
Celadon Fish Tiles


Experimental tiles done with fish impressions. The impressions are concave, made from convex bisque molds and celadon glaze.


I like the look of the celadon with the impressions.

Worth pursuing in a more controlled, larger set of tiles, I think.

Thursday, February 17, 2011

Looking at Images

Here's four images of a medium large pot:

Image 1

This one gives you a good overall idea of the rim--that it extends out and gently turns down. Not much is shown of the size of the inner opening but the outer and inner shape of the rim is evident, although the back inner edge is not shown well.

The fact that there are two curved loops or "handles" and their relationship to each other is evident. The volume of the body is evident.

An enlargement of this image shows that the front and back rims are not quite in focus--the depth of field is shallow, although the loop handles are well in focus.


Image 2

This image shows the sweep of one loop but says nothing about the other one except that it's there.

This is a kind of "Look at my muscles" shot. The whole story is the loop. And for some reason--lighting, reaction of the glaze, weird lens response--the loop doesn't look exactly rounded.

There's more definition of how the inner and outer rim are constructed, but you don't know what's going on on the other side of the pot.

If this were going to be entered into a single-image juried show, this is not the image to send.


Image 3

The story of the rim is better here. You can see that it is lipped and recessed below the edge. You understand the curve of the handle and the bulk of the pot.

Turning the pot picks up the rim's great glaze coloration. Show this stuff off!

The sweep of the loop is better defined. And you do get a better understanding of the bellied out body of the pot and the size of the opening.


Image 4

The story here is the shape of the upper lip of the rim, the width and depth of the opening and the two handle's relationship to each other. But the bottom half of the pot is obscure. You get a better idea of the coloration of the glaze on the rim.

I like the blackness of the opening. This shot gives the pot a lot of weight. The lower half is in shadow, however.

On the left-hand side,I don't like the top of the loop shape aligned exactly with the side of the pot behind it. This is a bit ambiguous. And the focus isn't good, although the focus at the bottom of the loop is great and shows it off well.

So the story here is curvy loop, deep dark opening; rim coloration secondary, but a nice balance with the showiness of the opening.

So, if you were picking slides to send to a jury, which would you choose?