Wednesday, November 5, 2014

Teapots - Form

I love these pots.


They all just scream FORM.


Form is so important in the creation process. To my mind, it is the primary; the first essential.


It doesn't matter so much how dazzling the glaze is or the size of the piece or any other aspect of design or treatment applied. If the form isn't good, no amount of attachments or embellishments can will overcome that.


FORM is the statement of the piece.

My first clay instructor asked me one day, "What statement are you making with this piece?"

I was flummoxed. To me, 'Statement' meant a verbal message. I just couldn't reconcile the idea of something said and a piece of clay.

In my mind, I thought it as a ridiculous thing to say. The two things just didn't relate to each other.

But

It is the kind of thing that hangs around the corners of your mind. Now, I get it.

Each of the following pots have strong statements. Wouldn't you agree?  What caption would you add?

What Sass! 
I would almost expect engine sounds, pouring out my tea.

Who's a clever lid, now?.

So beautifully traditional. 
Perfect blend of form and interpretation.


Perfect harmony, but does it pour?


I just know there's tea inside. Wonderful balance in so many ways.

Drop the body decoration and let the form fly!

Clever lid and chain. I've got you now, tea.

So simple; so difficult.

Great blend of two forms--stylized and slick. This pot just sings.

So does this one. Just look at the negative space! Wonderful surface design.

Everything relates like a Mother and Children. Or are they Minion? 

Strong, yet light. The handle could be slightly heavier, but not much.

Perfect glaze and form. I would love to see the handle up. I almost would rather see a vine handle, though.


Saturday, November 1, 2014

Segway--An Oddity

We're at it again--Working on another house. And in a conversation with my contractor about things found within walls, I was reminded of this sheet of paper we found tacked up between the studs of the old kitchen we remodeled.  

It does make you stop in your tracks and realize that, although we live in an age we think is a bit chaotic,  the future must have looked pretty bleak in 1942 when this was printed.  


I must get this down to my local historical society for their collection.


Friday, October 17, 2014

Snakey Plates


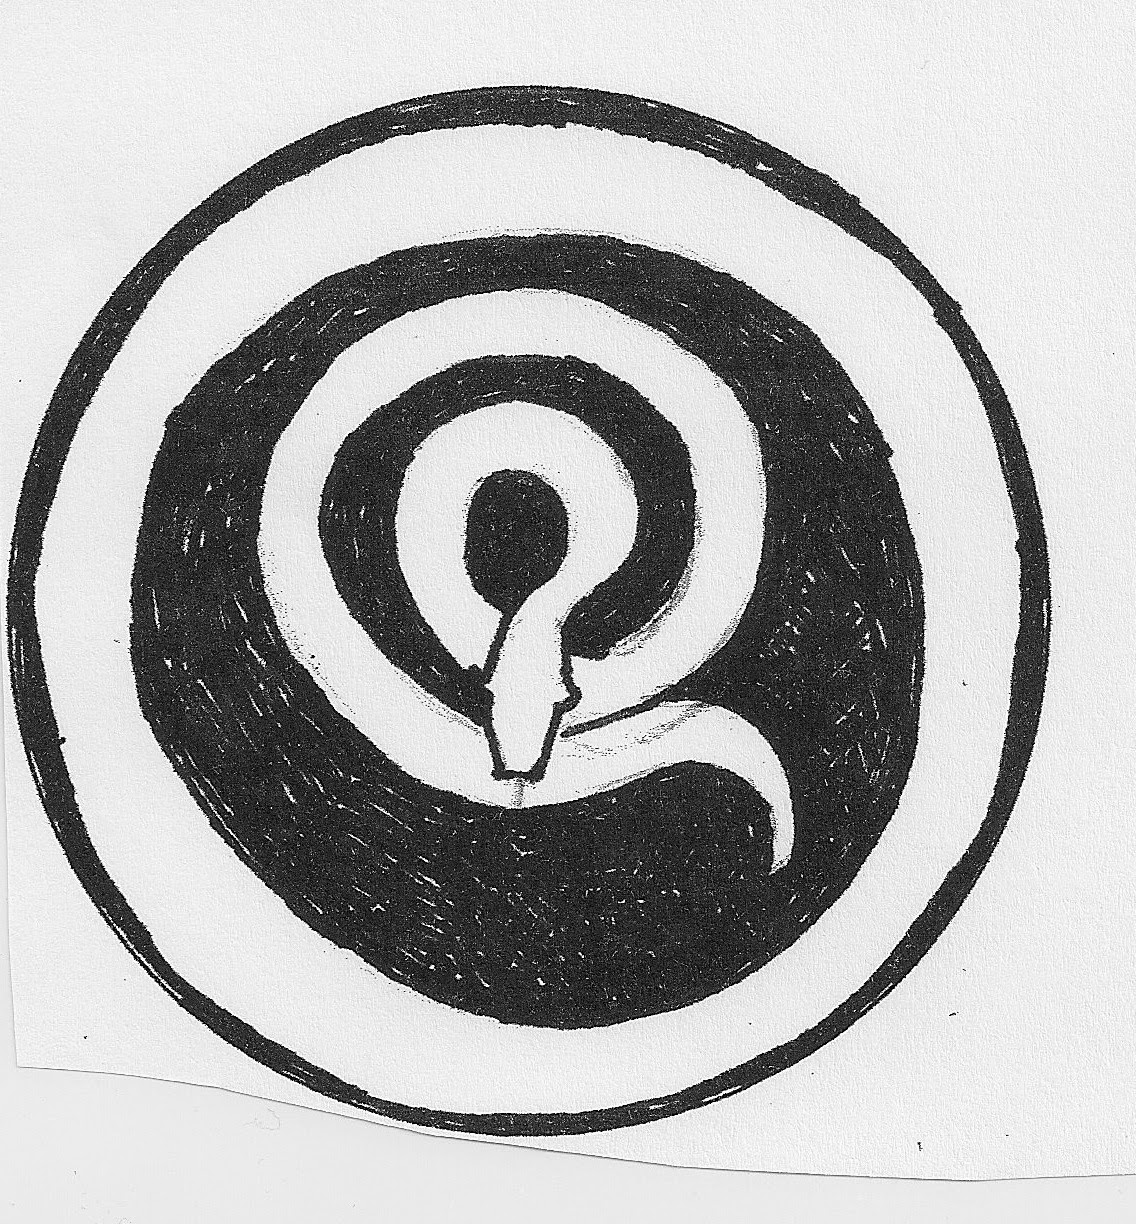
No. 1 First design-not my favorite.
Too much like a bulls-eye.


Of course I can't stop at just playing around with snake images. So I've been seeing if I can make a snake motif that says 'Snake' and also is graceful as a design.

I doubt anyone would want to eat a meal on a snake plate unless you're a zookeeper, or have a pet snake or study snakes for a living.


These are little thumbnails done with a felt pen within pre-drawn circles. So they are pretty rough, just notes and not intended for a finished piece.

In the process, it occurred to me to think about the encapsulation of the snakes in irregular fields. I like the idea, but overall the snakes are too small for the circle area.

No. 2 Second attempt

No. 3 Better design overall-more snaky.


No. 4 Tail too long.


No. 5 Probably my favorite design
along with No. 3.
So. Here's the question:  Would you want to have a set of snake plates?  Would you display them in your house? Would you ever make them?  Do you know anyone who has made them or has plates like this? 

Saturday, October 11, 2014

Playing Around with Design

Even though I don't have a studio right now, I never stop thinking and studying ceramics.

Some time ago, I made small templates of basic forms: Round and square plates. The forms are small enough to dash off a sketch or toy around with a design and variation. I can run off a copy on my printer and expand the idea or upload it into my computer.  

Here's an example:


The first one is a bit busy on the right side. And I would remove the small connecting lines at the bottom of the branch like figures.  

All in all, I think this would make a good wax resist platter. It would be interesting to try this in scraffito too.

   Here's a positive and negative of the same drawing.  (The darker snake is the original drawing.)  Although the snake image is about the same, the second image seems more of a 'fat snake'.


The third variation seems more dynamic just by adding another outline.

A lot of people do not like snakes. I'm not crazy about them, but I find their image fascinating. 

Maybe no one would want to eat an hors d'oeurvres off a plate like this.


Wednesday, August 20, 2014

Calamity Ware Update

Just got the first two plates of 4 ordered.

They are excellent. Beautifully executed and highly amusing. There's a lot going on there. Even the borders are intricate and chuckle-worthy.

The great plus is they are dishwasher and microwave tolerant. Can't wait to use them.


Saturday, August 16, 2014

Not your Grandmother's Blue Willow Ware


These plates are hilarious.*

Don Moyer started his project with the help of Kickstarter, a company that helps entrepreneurs get the funding for projects.

*Plate #1:  Invasion of flying monkeys a la Wizard of Oz


The plates seem to be going very well. Four plate designs have been done. Three on the market and available to buy now. The 4th is waiting for pledge funding to start production.

They're microwave tolerant too.

Paste this into your browser: https://www.kickstarter.com/projects/159974695/calamityware-dinner-plate-4

The runs are limited to a certain edition amount, so if you are interested, check it out.

More info is here calamityware.com

and on Facebook.

P.S. I have no financial interest in this project and will not profit in any way from the sales. (Except to hope he keeps on designing these beauties
and I can order more as they come out of production.)

Monday, August 11, 2014

Donations to Charity


Raku Torso


The question of donations comes up often.

Charitable organizations ask artists to give them a piece of their work to be sold or auctioned off.  There's nothing wrong with that,  but---

I have contributed pieces of my work, but I'm always a bit irked by the assumption that artists are expected to do this.


Maybe it's the assumption that artists are easygoing, kindly creatures because they are 'sensitive and creative and full of soul'.  Well, we may be, but we also have to spend money to make money and be business people or we wouldn't be making art for long. We're not flower children and we don't live on air. But start THAT conversation and you will soon see their dust.

A lot of us either work at another job or our spouses work to support us or we have some sort of resources that allows us to make our art. Even Leonardo had to have someone to pay his bills, for pete's sake.

Sure, sure, there were and are some rock stars in art, but for the most part, we aren't rock stars, we're working (emphasis on the working) artists. And for most of us, we'd go crazy if we didn't make things.

I wonder how many of them give their work away?


So, what to do?

What I would really like to say is, "What do you think I am, a charity?"

But you don't; you just---


1. Grit your teeth behind your smile and donate a piece that's not your very best, but one that's okay to give away.

             And we all get short-changed.

2. Say, "No, I never donate work." Or "I only give to certain organizations." Or "I've reached my cost limit on contributions. "  (The last isn't such a bad a response.)

But you can't win.


The other myth that comes right on the heels of the donation request is, "It's okay, you can write it off on your income tax."

Not true.

You can only write the cost of your materials.  Not the value of the piece, not your time. An artist can't evaluate their own work for tax purposes. And only when you sell a piece can you take the cost of materials.


Here's a Better Way:

Request the organizer budget in the cost of the piece and buy it from you. The cost gets included in their budget and probably can be written off as show expense. They become an example of "Supporting the Arts", a much talked-about idea, but a not-enough-done-about action.

You get paid upfront.

The organizer sells raffle tickets or runs a silent auction for the prize. They gain funds against the cost of the event. (To say nothing of gaining additions to their contact and mailing list) Your work is on display and becomes the center of attraction.

The winner/buyer can take the cost off THEIR income tax as a contribution.


Everybody wins.


Garden Sculpture; Water Fountain


Thursday, July 10, 2014

Gauguin

Did you know Paul Gauguin made ceramics?


Don't have any information about this piece, but I'm sure it was done after he had been in Tahiti.

Sunday, July 6, 2014

A Jar with a Perfectly Fitting Lid


This jar is made on the wheel; thrown as one piece, a hollow form.


After the bottom and diameter are established, the walls are brought up and closed at the top.

This one has a top-knot, but you can make it rounded or add anything you wish after it becomes leather hard.


The walls are purposely thrown a little thicker than usual in order to accommodate the cut for the interlocking lid flange and the base lip. It's also good to make the jar a bit taller, since the lid cutting operation will take some height out of the middle.


This glaze is done with a splotch of green glaze on the bisqued piece, the application of wax resist over that, then the top and base are dipped in a contrasting glaze.

No matter how well matched the lid and base are, there is always the 'perfect seat' of fit. Making a decoration travel from lid to base helps to make sure the lid is returned to this optimum fit.

Below is a diagram I developed to illustrate the technique for cutting lids from closed forms. 
If you click on the image, you can enlarge it for easier reading. With some computers, you can click the curser on the image, hold and drag the image to the desktop, then import it into a document for reference.


If you cut the lid flange at the base of the indentation, it is possible to remove the completed lid and inner flange. Just a bit of smoothing up is needed.

The base, still attached and centered on the batt, can be trimmed on the inside to create a 'shelf' for the lid flange to rest upon.

Unfortunately, I don't have any examples to photograph of the jars I've made using this approach, I've sold them all except for this green one.

It is possible to reverse the cut--make it so that the lid slips down over the bottom flange--by cutting at the top of the indentation to release the lid, then inverting the lid into the base and after securing it, cutting the inner edge, leaving the outer surface undisturbed.

The outer edge of the base may need some cutting adjustment on the inner lip so that the lid slips easily over. This is an example of an early try at the reverse cut.


Once you get the hang of the cutting and a feel for the thicknesses, either way is fine, but I prefer the first method because in my experience, it gives a truer fit.


Monday, June 9, 2014

Website Recommendation


A plate a day.  http://aplateaday.blogspot.com

is a great blog featuring just plates. All kinds of plates. Like these:

Love this set!


Beautiful and bright. Imagine a table set with these.


Couldn't resist this.  Google Calamityware.com for more details.  I've ordered two.


A set with a different bug on it would be great.