Thursday, January 31, 2013

Intriguing Image

I've had this jpeg knocking around on my desktop for some time now.

Don't know the origin, but I find it an interesting idea. What is conveyed is a message of anxiety. The facial expression; a Madonna-ish moulding of the face reminescent of early Spanish alter pieces. The position of the shoulders and arms, especially the slightly off-kilter of the neck and shoulders showing uncertainty; the hands. The stiffness of the posture, the starkness of the clothing treatment, all these elements instantly telegraph worry, dread, a holding in, restraint, correctness, stress.


I'm reminded of the Renaissance busts of young women and old dolls. And although they don't show the emotion that this image does, the appearance is similar.

I wonder if I could make one like this, but in my own style. Maybe not life size, as I feel this one must be. I would probably make one that would be a little easier to live with......

How would I construct it? The balance would be tricky to say nothing of the process of drying it without cracks. Maybe not so much body, thicker arms (and a less worried expression) would be a workable modification of the idea.

Maybe the trick of attacking it to a clay backing in exaggerated bas relief would work.

Or, as one clay figure sculpture artist I know dose it, make components that are later attached together on a support concealed inside. Like the places where clothing overlaps the figure.

And maybe a watercolor-y surface treatment.


I'm thinking a small experimental try would be the best.


Sunday, January 13, 2013

What a Beauty

I wish I knew who made this beautiful plate.


Just two simple treatments.  And they work so well together.  

P.S. Getting over the flu/Valley Fever/Cold/Mung/Whatever. Been pooped out for weeks.

Tuesday, January 8, 2013

And now for something completely different......


Sometimes, It is good to be a hoarder:


Necklace componants:


Mother of pearl antique belt buckle.

Mother of pearl beads, buttons.

Agate beads.

Faux pearls

Real pearls

Glass beads

Seed pods

Wooden beads

Coconut shell beads and buttons

Shell beads

Brass beads and tiny brass bell

Moon stone beads

And for spice: Black onyx and glass beads

Tuesday, January 1, 2013

New Year, New Post, New Resolutions


1.  I will read more of the books I've promised myself to read, listen to NPR more and watch less TV.
My list on Amazon grows.

2.  I will listen to more music. Music lifts my soul and my mood.  I must remember to give myself that gift more often.

3.  Since I sent no Holiday greetings this year, I will write a short or long note to everyone who wished
me well.

This Holiday, I was working on my immunity to the flu...... The hard way....... One microbe at a
time....... Flat on my back and basically oblivious to most things.

4.  I will prove my ancestor, John Wood, the Mariner is the same man who died in the Battle of
Levorno, Italy or Leghorn, as the English say.  And I will get everything I know about him to date down on paper.

5.  I will write the stories of my family and about the funny things that happened to me while living in many different places.

6.  I will expand my art to more expressions:  Clay, sculpture, paintings, drawings and fibers.

Wow. Once I wrote all that down, it looks like a lot.


Tuesday, December 11, 2012

Early Resolutions

Wow

I just finished have a big old clean-out of my studio; the place where I've been making claywork for about 25 years.

Amazing what you can accumulate......

Like twidgets that might look good on a ray gun.

Or a piece of beautifully oxidized copper tubing that might have possibilities for a handle.

I won't mention the amount of driftwood I've stocked up on
or round beach rocks and shells....


It's just as bad in my house. So these last 10 days or so, I've been sorting, grouping, pricing, advertising and hosting a big sale of things I probably will never use.

One must close one's eyes, extend the hand and arm, and drop whatever it is in the "For Sale" box. Ouch!

I realized that I was holding onto a newly designed  lid here or a teapot there that didn't fire right but had a great glaze. And the reason why these were hanging around is because I wanted to remind myself to try it again.

 (Palm to forehead) I Can Take A Picture of It and transfer it to a page labeled "Reminders." Much more sensible. And a heck of a lot less space.


But I did have a happy trip to the bank.


Next:  Thin out those image files and "those-stacks-of--articles-I-need to-read!!!

Friday, November 30, 2012

Monoprints

Have you ever made a monoprint? They are easy to do and an interesting exercise in drawing.

What you need is an absorbent paper, a pencil, ink and a glass surface.

Brayer out the ink on the glass to a consistent coating. Slightly dampen the paper and lay it over the ink surface making sure there aren't any air bubbles, but do not rub the paper. Tricky, but easy to get the hang thereof.

For these drawings, I used some printing ink from the tail-end of a tube that was going to be thrown out after an art class.  (We will discuss art hoarding at another time. )

After you get the ink-glass-paper setup, begin drawing free hand to the paper surface. Press firmly to make sure the pencil strokes will transfer to the underside of the paper. Light rubbing is now permitted if you think it will add anything to the picture. You will know how this will work after you've done a few drawings.

When you are finished, carefully peel the paper off the ink ground.

Here's two drawings I made from some left-over newsprint, left-over ink and a piece of picture frame glass. (Now I wish I had used better paper, but there it is.)


This drawing shows some light rubbing.


The resultant art work has a very distinctive look and will come out reversed-image. Which may be a surprise to you and may make you correct some drawing idiosyncrasies you may have and didn't know about until then.


This drawing was done years before I lived in Bahrain and actually saw scenes like this. Sights like this was very common and would not depict people who were destitute or empoverished. It could very well be village women in town with items to sell.


Friday, November 23, 2012

Graphics Design - Logos


Well, I've been rather busy. 

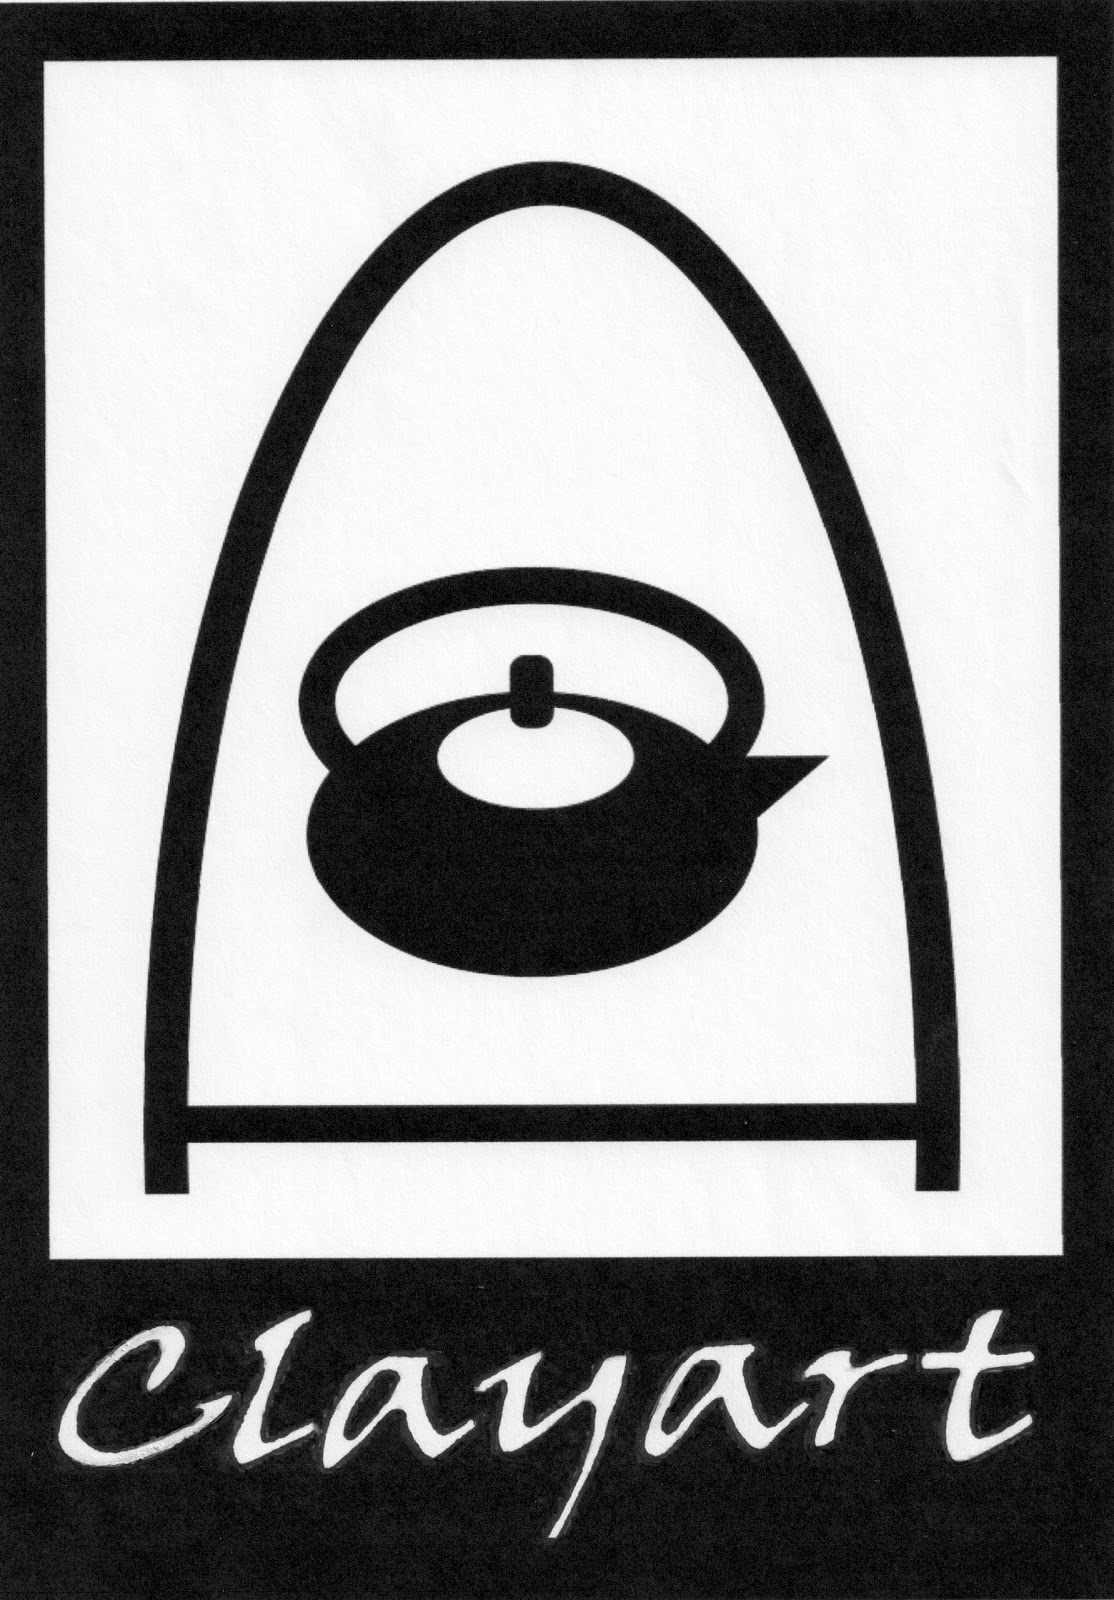
We are in our winter location and I've been working on designing the new logo for a Wiki page for CLAYART.   

CLAYART is a worldwide clay artist's and a clay associated discussion email group that has been active for over 15 years. It began as an idea during a yearly National Conference for Education in the Ceramic Arts (NCECA) convention. I will explain NCECA and CLAYART further in future posts. But sufice it to say the internet email part of CLAYART is undergoing big changes at the moment. 

One of the new changes was the creation of a wiki page. My part was to design a tiny, easily-recognizable logo to mark the upper left-hand corner of the site. 

Being completely new to the designing of tiny wikis, I have been on an intense learning curve. 

I don't have sophisticated computer design software, but I have had an undergraduate series of courses in computer design which I took just because they were available to me. And I discovered that through Apple Pages, I can do a limited amount of black and white work. 


Warning:  Some Graphics Geekdom follows--

The catenary arch design was made by stretching a black circle into an oval, then overlaying it with a white oval, adding a thick horizontal line to connect the bottom of the arch and suggest the floor of a kiln. 

I blocked the bottom of the ovals with a lineless rectangle placed below the "bottom of the kiln" line and layered over the top (brought forward) of the oval shapes. That blocked the bottom sections of the ovals from view which is equal to erasing them. 

The teapot was made by manipulating black and white ovals. And the handle to the pot is made the same way by layering a white oval over a black one. 

The body of the pot is another black oval, with another white one imposed to suggest a lid. The lid knob is a standard shape available from the menu and layered over the black and white ovals (brought forward).

The whole design is on top of a black rectangle, which was sent to the back. This creates the top 3 borders of the logo.

The lettering at the bottom was lifted from a tiny graphic I had squirreled away and used on this blog some years ago. 

This is fine for a tiny wiki, but when I wanted to enlarge it to a huge file for use in other ways, that's where the trouble began. All the enlargements resulted in shaggy, pixelated lettering. 

I finally ran the whole thing out of my printer at page-size and, using a fine marking pen, smoothed up the letters one by one. Like, taking-off-your-glasses, sticking-you-nose-to-the-page making-pixels-go-from-squares-to-smooth-edges smoothing. 


More later---


Written later than the above versions.  Sorry for all the changes after the initial posting. On re-reading the first ones, I realized I could write a clearer description of the geek graphics.


Monday, November 5, 2012

Multi-Tasking


Wow, Am I busy!  Will have to take a short break for now.

Thursday, October 18, 2012

Woo Hoo


Just got notified I was accepted into the 38th Annual "Toys Designed by Artists" at the Arkansas Arts Center in Little Rock! See "Where You Can See My Work" section at the right for details.

This is the third or fourth time I've been selected for this show, always with ray guns.

The rings at the back are really disposable snap-together plastic party wine glass bottoms. The kind you buy in bulk for big parties.

I was cleaning out a basement wine and storage area when I saw these bases on a shelf. Bingo! There was the part I've been looking for to complete this ray gun. It has been sitting in parts on a table in my studio for some time.

The piece is really was made in four parts. Two separate sections of the main body were thrown on the wheel as was the back section. The grip was hand formed and is hollow.

When it was in the leather hard state (soft-ish), I carved and fitted the grip to the body assuring that it would balance. I always wanted to put this ray gun together with another, added component, but just couldn't find anything that worked until I saw those disposable wine bases.

Now, I'm on the look-out for anything glass or plastic that might have possibilities. Even considering snapping the base off a glass wine glass and using the top like the one in the September 5th post. The plastic top to the disposable glass didn't work out as well as the bases did. The Goop glue tended to cloud the glass. I'm sure a glass top would work much better.


Uh oh, I hear the siren hoarding call.  Every time I watch that program, I go clean out a drawer or something.


Sunday, October 14, 2012

Experimental Lids

I am fascinated with lid design--thinking past the usual knob.  


This is a medium sized jar with an experimental handle and is just as easy to grasp as a knob, if not more convenient.

In this case, the idea might even be expanded to a lid/scoop design. But in order to do this, the base of the jar would have to be more straight sided to make room for a scoop to work. (Both the top and bottom would have to be designed to work together.)

So other forms should be considered. 

A bar works. 

Or reverse your thinking and consider a finger hole recessed into a built-up lid with a sealing solid base below the finger-space.  I've made these, although I don't have one to photograph at the moment. 

Or something that locks down with another element; a working two-part lid design.   


Another brain-teaser is figuring out how to make a screw-top lid-- Just a simple, run of the mill, screw-top jar like the ones you have around the house--from the cabinet or refrigerator. 

David Hendley (http://www.farmpots.com) wrote a thesis about making a tap and die for these lids. Go to the tab "Writings and Publications" to purchase a copy. He discusses tap and dies and includes pictures of an aluminum tap and die set once produced by Bluebird, but these are not currently available.* 


 Just thinking about it puts my brain in a twist.


*PS  If anyone has a Bluebird tap and die set for sale, please let me know.